Introduction
Put a little wabi-sabi in your life with our TotalBoat Kintsugi Kit! In Japanese culture, wabi-sabi is all about embracing the beauty in imperfection, and the ancient art of Kintsugi celebrates this optimistic view. It involves repairing broken things with powdered gold, and is most commonly used to repair broken pottery, art figures, and other objects. So instead of throwing out that broken family heirloom or prized piece of pottery, turn it into something so stunning in beauty and simplicity you’ll cherish it even more. This easy-to-use DIY kit includes TotalBoat Thixo Fast Cure (our fast-curing 2:1 thickened epoxy adhesive), mixing nozzles for dispensing epoxy, epoxy-safe powder pigments, mixing tools, protective gloves, and detailed instructions. Perfect for repairing ceramics, pottery, vases, glass objects, porcelain, and tiles, the Kintsugi Epoxy Repair Kit makes it easy to bring out the beauty in all your broken things!
-
-
You have a short amount of time to work with the thickened epoxy after dispensing it, so it’s helpful to cover your work surface to protect it and have your materials on hand before you begin.
-
You’ll also want to lay out and arrange your broken pieces.
-
Tip: Be sure to put your protective gloves on now because as you glue your pieces together, you'll want to change your gloves often to avoid spreading the epoxy.
-
-
-
Clean the broken edges by wiping with a clean, lint-free cotton rag wetted with denatured alcohol.
-
Cleaning the edges to remove contaminants helps ensure the epoxy adhesive adheres properly.
-
-
-
Remove the cap from the Thixo Fast Cure cartridge and attach the mixing nozzle.
-
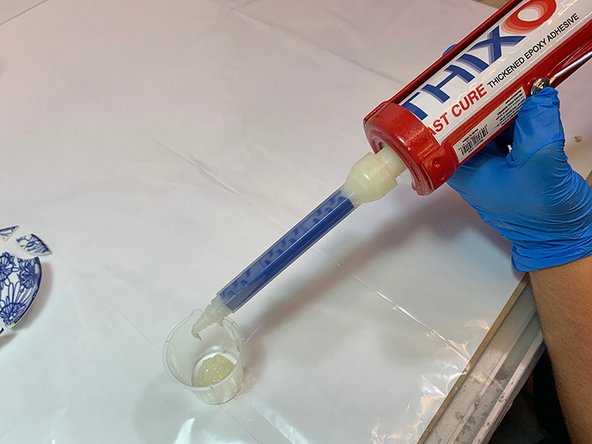
Using a standard caulking gun, dispense the first 3"-4” bead of Thixo Fast Cure as waste, until both components are coming out evenly. DO NOT USE THIS MATERIAL FOR YOUR PROJECT.
-
Next, dispense a small amount (10-20ml) of Thixo Fast Cure into one of the 50ml beakers. Once the epoxy is dispensed, you have approximately 10 minutes of working time.
-
During your project, you can dispense more, as needed.
-
IMPORTANT: Do not attempt to clean or reuse mixing tips. Let the epoxy cure in the tip while still on the cartridge. The next time you use the epoxy, attach a new tip.
-
-
-
Add a small amount of the gold mica powder pigment, and use the plastic mixing stick to mix the powder into the Thixo Fast Cure.
-
Stir until the color tone is even. If desired, add more pigment until you achieve the color tone you want.
-
Tip: The amount of pigment you add will affect the richness of the gold color. The more pigment you add, the richer the color. Just keep in mind that a little pigment goes a long way, so start with less because you can always add more.
-
-
-
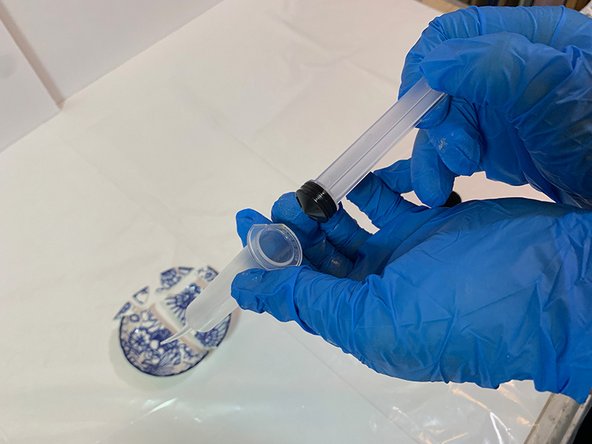
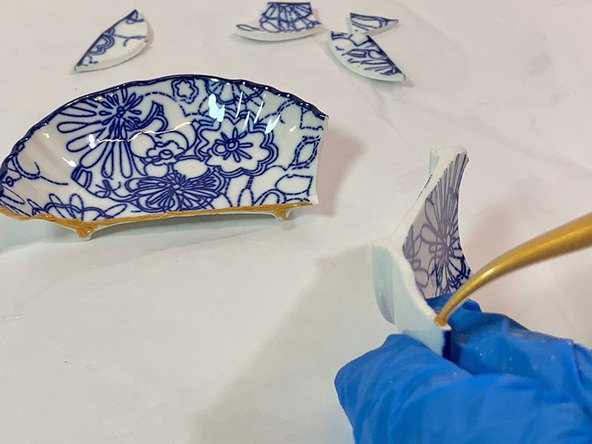
Remove the plunger from one of the epoxy syringes.
-
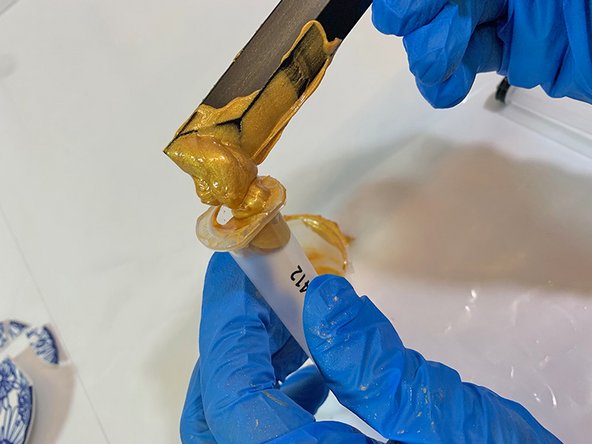
Use a mixing stick to scoop the gold pigmented epoxy into the syringe.
-
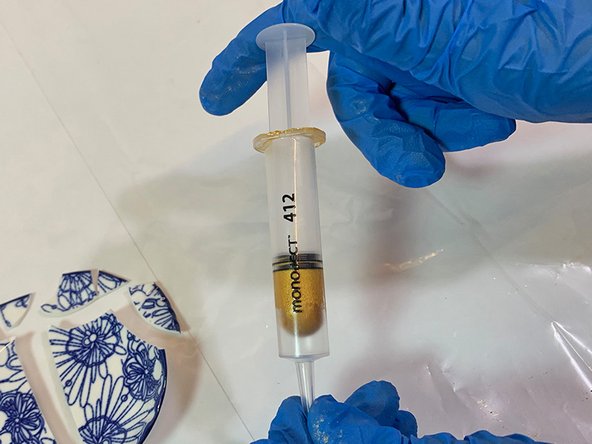
Slowly insert the plunger until the epoxy moves down to the tip.
-
IMPORTANT: A smaller bead will be cleaner to work with, but if you want to increase the size of the bead, trim the tip of the syringe to the desired width.
-
-
-
Try to establish the first couple of larger broken pieces that can be glued together easily to form a large base section on which you can build.
-
Squeeze a thin bead of epoxy onto each of these larger broken pieces.
-
Hold the pieces together for approximately 20-30 seconds.
-
-
-
After gluing the larger pieces into one section, do the same for the smaller pieces, gluing them into one larger section.
-
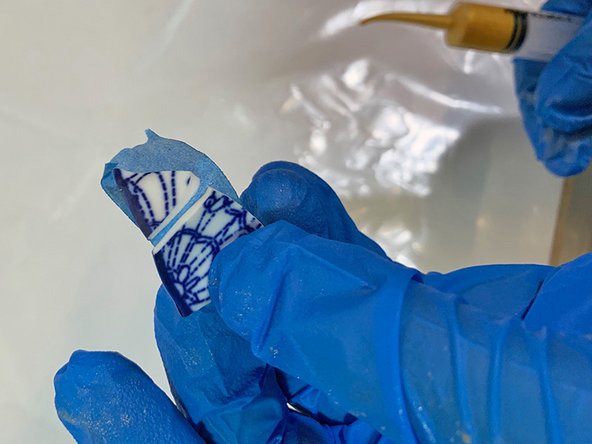
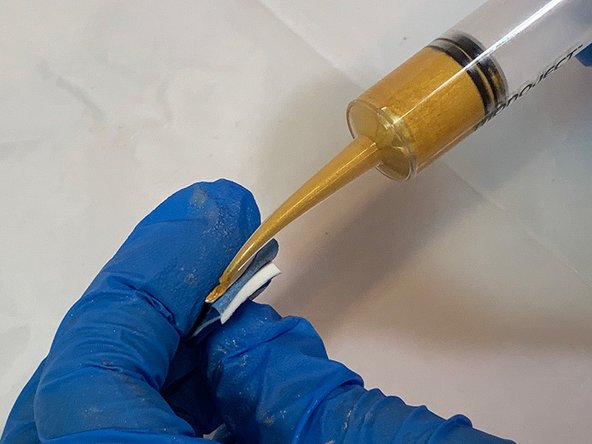
Tip: To make it easier to glue the small pieces together, put two small pieces on a piece of blue masking tape.
-
Fold the tape in half to expose the two broken sides. Apply epoxy to both broken edges and slowly fold back together.
-
Let the small pieces dry in place on the tape. Glue all sections together to form the whole.
-
-
-
If the epoxied pieces are not sticking together, you can carefully add tape to help hold them in place.
-
If your broken pieces are small, you might consider gluing them together first into a larger piece that can be adhered to the other pieces. Gluing a larger item together might best be achieved in multiple steps and Thixo Fast Cure times.
-
Change your gloves often to avoid spreading the epoxy onto your piece.
-
-
-
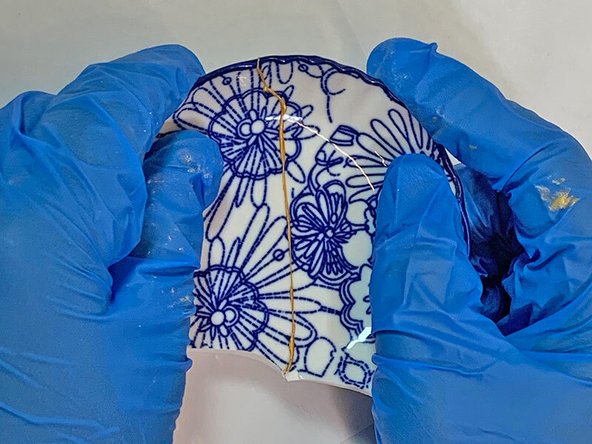
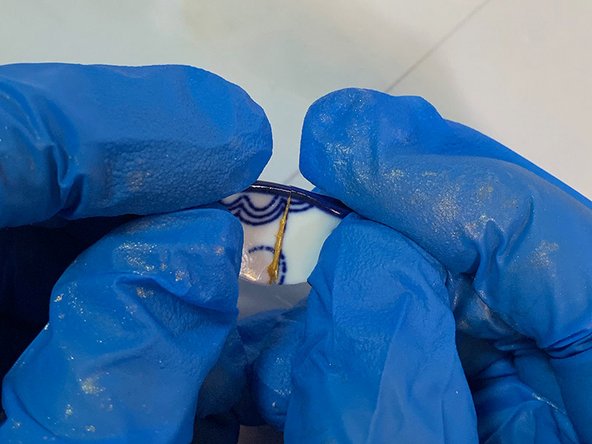
You may choose to leave a bead of the gold epoxy ‘proud’ (raised) above your glued joint. The bead size depends on how much epoxy has squeezed out of the crack. You can control this with tip size and the amount of epoxy you apply.
-
You can carefully tape your project to protect it from errant epoxy – either on the surfaces that you want to protect, or along the sides of any glue joints.
-
Work neatly to avoid messy mistakes. Once the gold epoxy dries, you will not be able to remove it. If you don’t want the bead, or want to adjust the size of the bead, use the plastic stir stick to remove any undesired epoxy before it cures (see STEP 11).
-
-
-
Before the epoxy has cured, remove excess epoxy with one of the plastic mixing sticks.
-
You can then use a clean cotton rag to carefully remove any finer residual epoxy from glue joints. This will give you a very thin line of gold that will be less noticeable than a raised line.
-
Tip: You can wrap a cotton rag loosely around the perimeter to gently support and hold pieces in place while the epoxy dries.
-
-
-
What is epoxy sensitization? Ever hear of someone getting a skin rash after using epoxy? A rash is one form of sensitization — it's the process where your body gets more and more sensitive to epoxy products. Rashes are a common sign, but eyes, nose, throat, & lungs can also be affected. Everyone reacts differently, so proper PPE is critical.
-
Before you start this project, we recommend the following:
-
Take a look at the SDS (safety data sheets) for each product, paying special attention to the safety information in Section 8: Exposure Controls/Personal Protection.
-
Gather the proper PPE (personal protective equipment) recommended by the manufacturers, such as suitable gloves and proper protection for skin, lungs, eyes and clothing.
-
Ensure your work area is well ventilated.
-
Your “new” dish looks great! Display it proudly!
DISCLAIMER: TotalBoat Thixo Fast Cure epoxy has not been tested for food-safe use.
Your “new” dish looks great! Display it proudly!
DISCLAIMER: TotalBoat Thixo Fast Cure epoxy has not been tested for food-safe use.


